.

.
Showing posts with label Contact Paper Challenge. Show all posts

Saturday, November 6, 2010

Contact Paper Challenge Week Has Come to an End...

Well thanks everyone for hanging out with Campfire Chic, Arvonia, and myself for Contact Paper Challenge Week. It was a lot of fun trying to think up DIY projects with these two lovely bloggers! I just though I would share a recap of all the DIY projects we did, just in case you missed one!
Now I can do all of the posts I have been wanting to do all week but have been holding off! 
Have a lovely weekend. 
xo ldc

DIY Contact Paper Wall Decal

Hello! This DIY project is a super easy wall decal. We all know the saying "keep calm and carry on" so I thought it would be awesome to put that on my wall with contact paper!
 All I did was cut a bunch of rectangles out of contact paper that are all the same size and then cut letters out of them. Then I stuck them to my wall. Easy as Pie ! I think it turned out pretty awesome. And now my white wall is semi non white!
xo ldc

Friday, November 5, 2010

Contact Paper DIY Wooden Buttons

Hello! I hope you are all enjoying Contact Paper Challenge Week! Remember you can check out the Schedule to see all of the DIY posts this week so far!

This DIY is super easy and it used up all the little scrap pieces you might have around.

All you need is...
  1. scrap contact paper
  2. scisors
  3. black sharpie

 I stuck some of these to my sewing machine and they are super cute!
xo ldc

Mini-Inspiration Board DIY by Campfire Chic

Love the inspiration clipboards you've seen on other blogs, but don't have a space large enough for a few clipboards? Why not make a few boards that fit your specific area? All you need is some thin cardboard (think cereal box thin), contact paper, and a cute clip:

inspiration-board3
inspiration-board1

inspiration-board2

Thursday, November 4, 2010

Contact Paper DIY: Note Card


Hello ! To continue with Contact Paper Challenge Week, here is a little note card using some cute contact paper. First I used Paint program and some of my nifty fonts to make this little template. Feel free to steal it and print it off for yourself!

This is what I printed out to make the cards:
I printed it out on a thick piece of paper, but you could try it on regular white paper. I did 8 on a page.
Then I cut them out individually. like this:


 Then I cut out a slightly larger piece of contact paper:
 I cut the contact paper roughly the size of the card:

 Then I stuck them together and cut the extra off around the edges.
 TA-DA !
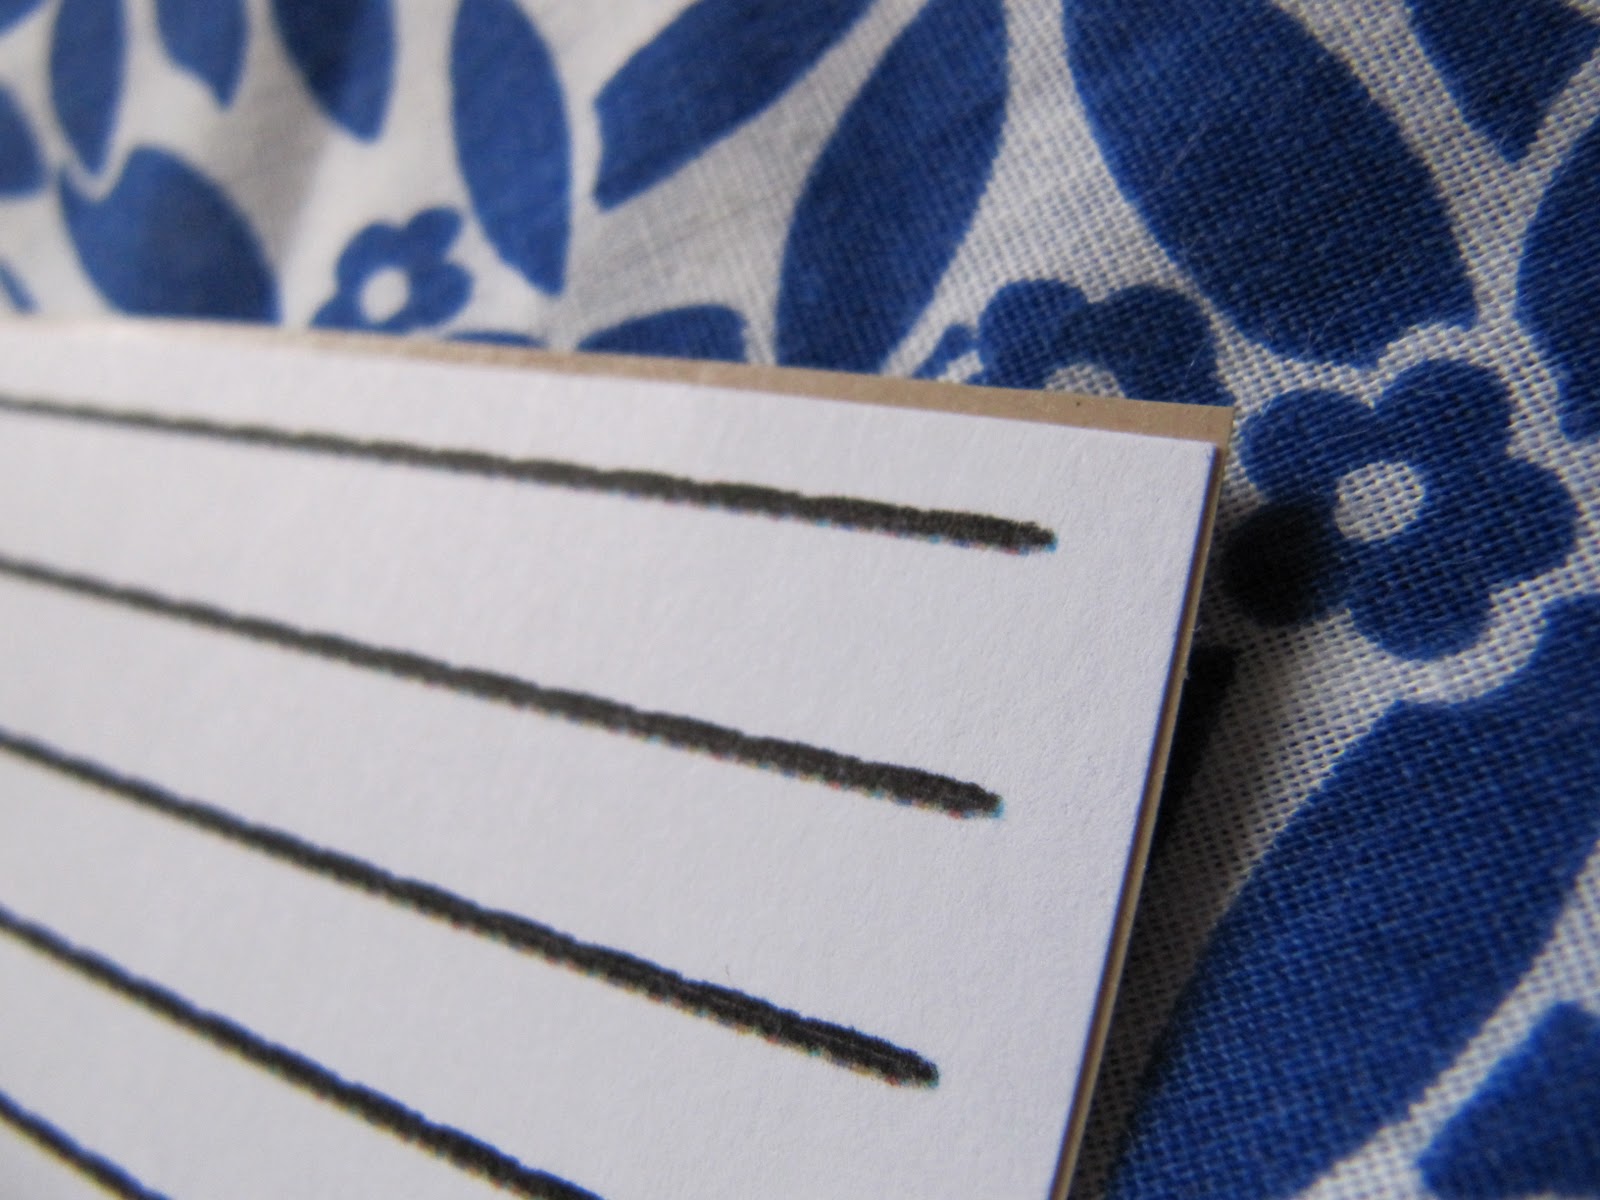
 back:
ps. This is great for pen pal letters.
xo ldc

Wood You Write to Me? Greeting Cards DIY by Campfire Chic

In early October, I turned a package of store bought cards into something more. I wanted to personalize cards I sent to my pen pals and decided to use some of the contact paper scrap I had saved from projects in my Etsy shop. Here is a DIY showing what I did to make these cards:
carddiy1

carddiy2

carddiy3

Wednesday, November 3, 2010

How to Use Contact Paper in a Journal.

Hello everyone! To continue on with Contact Paper Challenge week I wanted to show you how to use contact paper on a journal page. So here are four different ways to use contact paper when journal writing!
  1. cut it out into letters
  2. use it as tape
  3. make cute little hugs (X) and kisses (O)
  4. Underline the important stuff
ave fun journaling!
xo ldc

Contact Paper DIY : Picture Frames : Sara from Arvonia

Hello there! I'm Sara from Arvonia, and I am so happy that Lindsay and Kam
invited me to participate in this fun challenge! Contact paper is one
of my favorite crafting tools, so I'm pretty excited about the whole
week. On to the crafting!


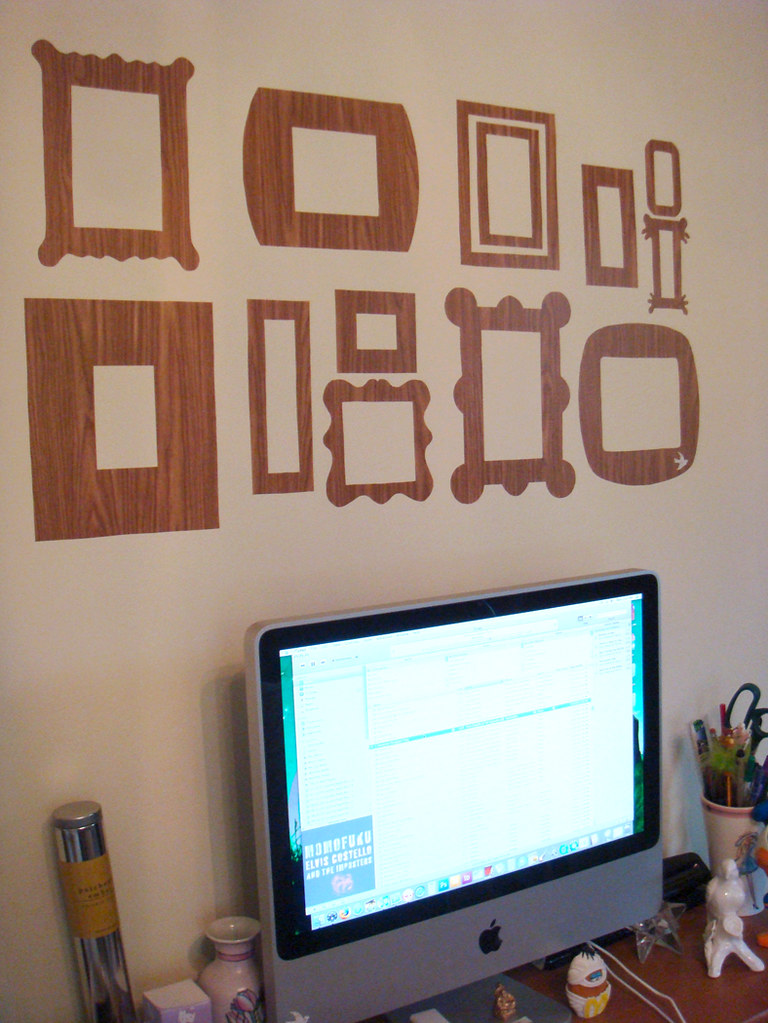
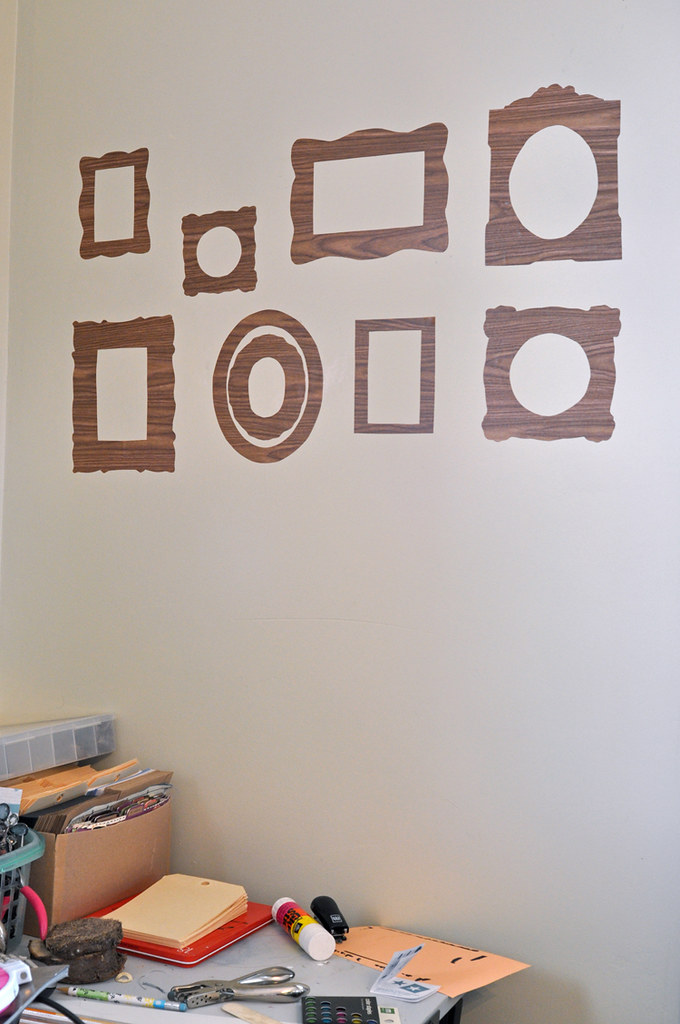
Making faux picture frames from contact paper is an easy (and
landlord-approved!) way to spruce up those old walls. The above photo
was taken when I first did this project a couple of years ago after I
moved into my boyfriend's apartment (read: typical bachelor pad), and
I absolutely loved the results. So here it is for you,
step-by-step!


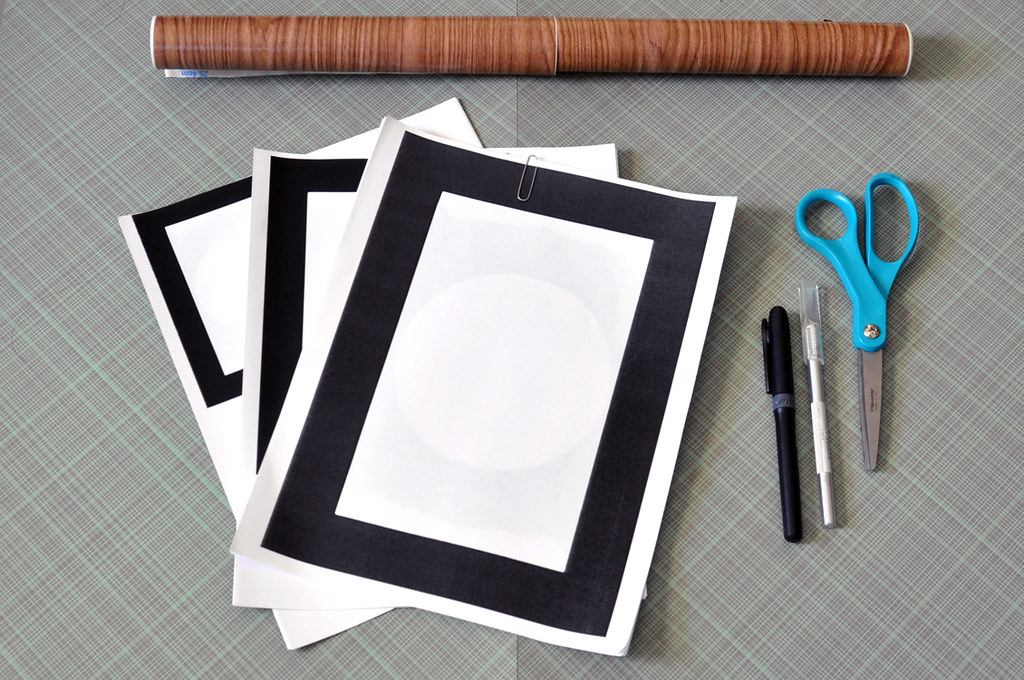
First, you'll need just a few supplies:
  • Contact paper. I did mine with the woodgrain paper, but you could
    do this in any pattern you like!
  • Frame templates (unless you want to draw them freehand). I went
    to DeviantArt's stock photo files and downloaded a
    bunch of images of frames I liked, then printed them in various
    sizes.
  • Permanent marker or pen
  • Scissors or a craft knife


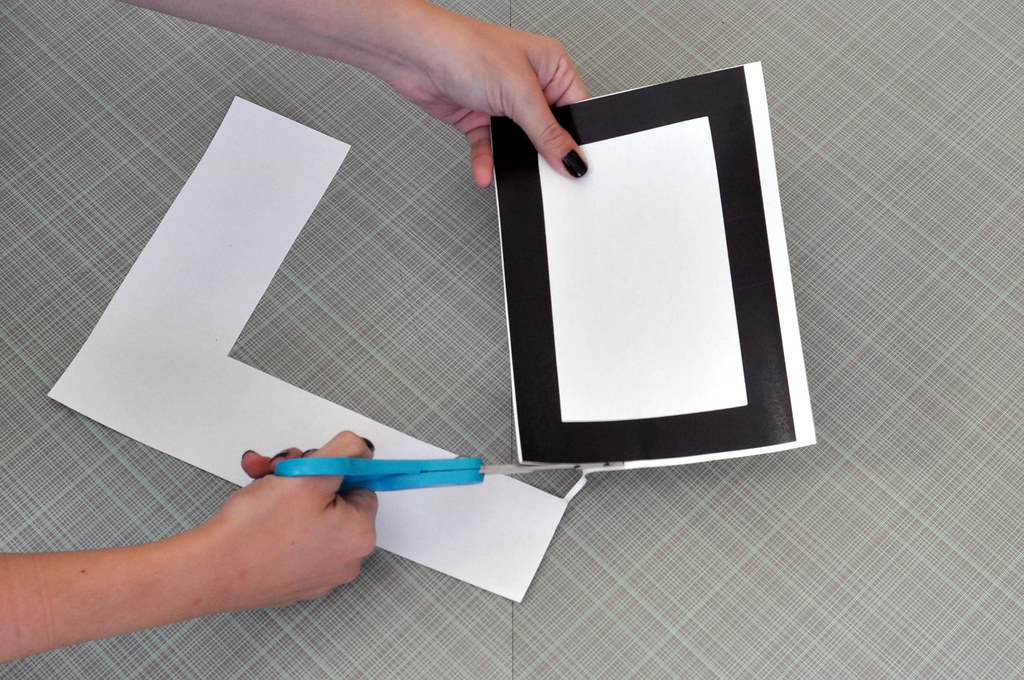
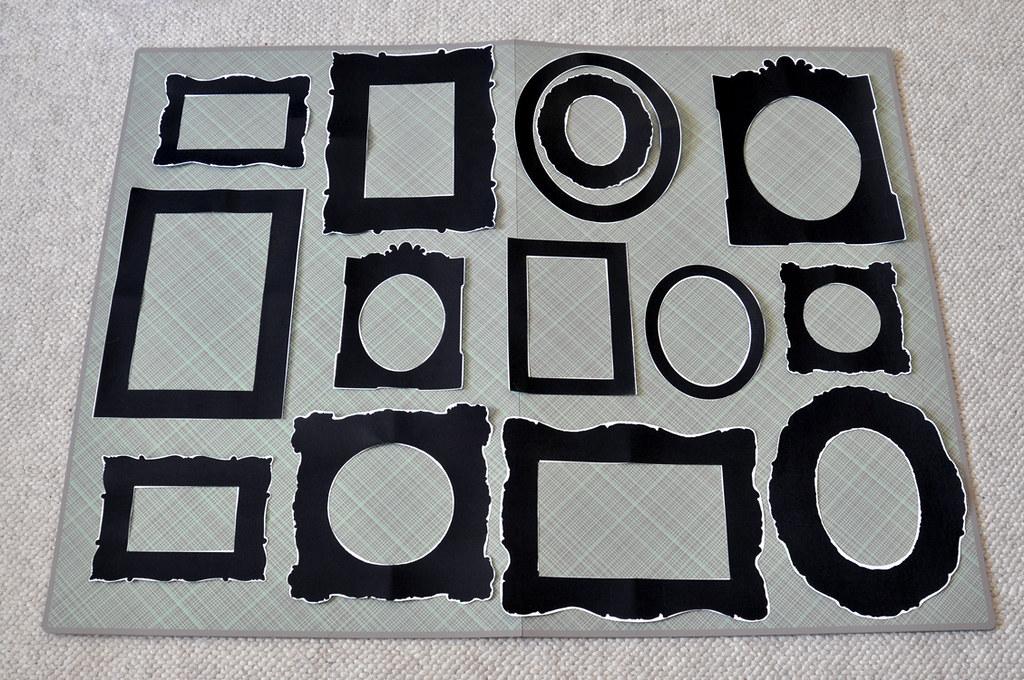
Next, cut out your frames. Oh, and a side note -- I wouldn't pick
frames with a ton of crazy detail, unless you really like spending
long afternoons with a craft knife.


After they're all cut out, it's good to arrange them all to see what
you're working with. If you want to use all of the frames for your
project, that's great! I wanted to pare mine down a bit, but how many
frames you do is totally up to you.


Ah, much better! This is the point I really like to play around with
spacing and the layout of the frames. That way, I don't have to spend
time cutting out a lot of unnecessary frames later on.


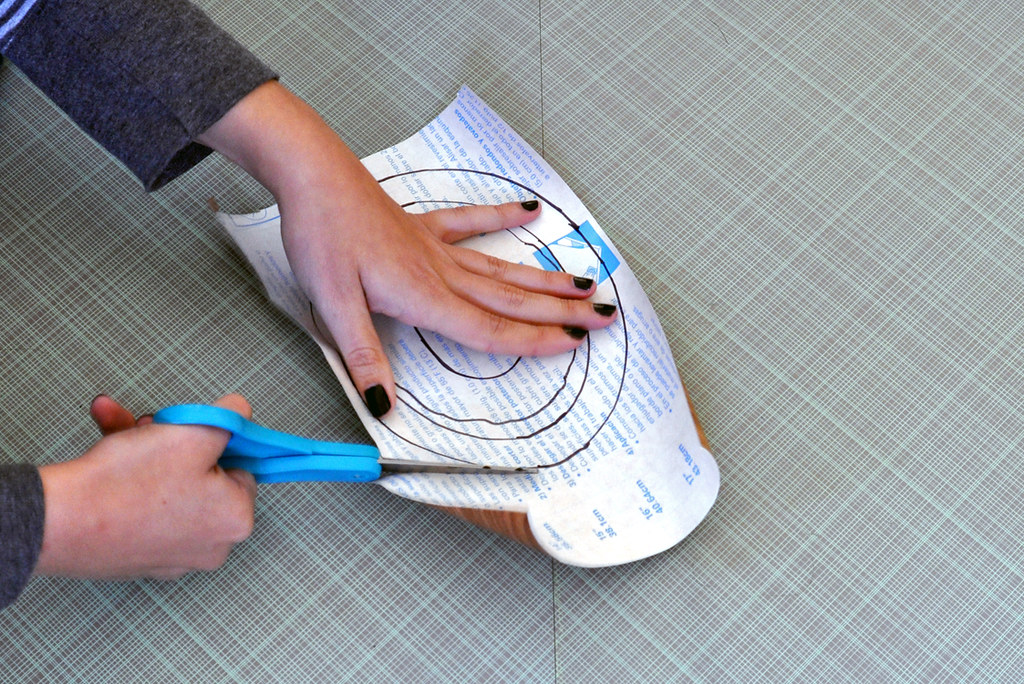
Trace your templates onto the back of your contact paper. Keep an eye
on the direction of your pattern (like with the woodgrain, is it going
up and down or from side to side?), if you want to keep it consistent
with all of your frames. Cut out your frames.


Almost done! I told you this was easy, didn't I? :)

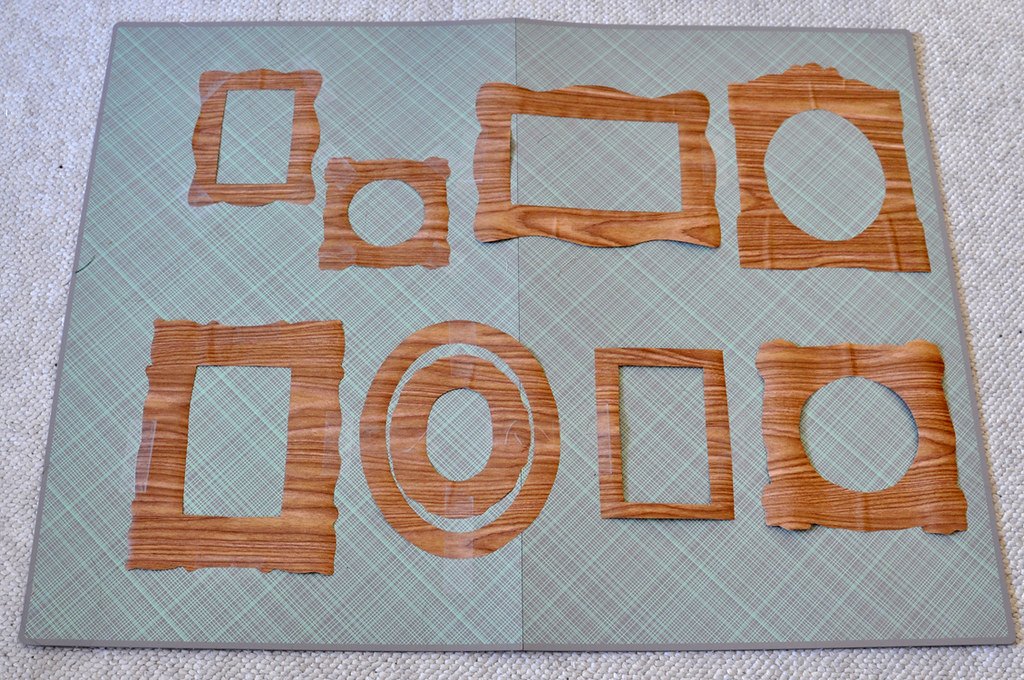
I arranged my frames one last time on my work space (Notice how I like
to work on the floor? Typical.) and taped them down, so I could see
just how they looked before I started adhering them to my wall. If you
want to make any rearrangements, I would recommend it during this
step, since it's a little trickier once they're stuck.


One by one, stick them up on your wall. They're not permanent, so you
can still move them around a bit if you need to make any minor
adjustments. Now step back and enjoy your handiwork! I'd love to see a
whole wall full of frames ... now if I could just find that kind of
time!

Thanks, everyone! If you decide to take on this project, come visit me
at my blog
and share. I want to see your work!

Tuesday, November 2, 2010

Campfire Chic : DIY Camera decal

So Kam and I were very inspired by this post featuring a polaroid camera with contact paper over at One Pearl Button. Kam decided to try it out herself and I think it was super cute! You can easily try this yourself!

 Before:

After:
Pretty cute!
Let me know if you have any cute projects you would like me to include in Contact Paper Challenge Week! I would love to link to them :) And don't forget to check out the Schedule Page!

xo ldc + Kam

DIY: Contact Paper Heart Notebook.

Monday, November 1, 2010

Office Supply Labels DIY By Campfire Chic

Here is a lovely post done by Kam From Campfire Chic!
DymoLabels1

DymoLabels2

DymoLabels3

DymoLabels4

DymoLabels5
This is the perfect way to use up a few extra scraps you have laying around from the other projects! You can also label binders, drawers, boxes, shelves, anything!

DIY: Contact Paper Stump Decal

Hello Everyone! Here is the first Contact Paper Challenge DIY: a Stump Decal. These are really fun to do because you can make anything, and you can stick it to almost anything and it will come off no problem! Lets get started....

Click here for the full schedule
Leave me a link to any Contact Paper projects you have done!
xo ldc

Wednesday, October 27, 2010

Contact Paper Challenge Week Long DIYs Starting Nov. 1

Hello!
Starting next Monday, November 1st Campfire Chic, Arvonia
and LDC designs are hosting a week-long event of DIYs with Contact Paper.
You can buy contact paper at wall Mart near the Irons I believe.
I hope you are ready for a mind blowing amount of DIYs!

If you want to join in and do some contact paper challenges as well, then leave a comment or send me an email and I will include the link for your DIY on my blog as part of contact paper challenge week!

xo ldc

Total Pageviews